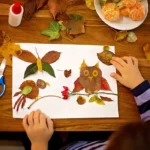
Are you passionate about DIY projects and want to share them with the world? Do you love crafting and building unique things? What do you think about transforming everyday materials into something useful and beautiful?
You surely know that many already share all those activities on their social media accounts, including YouTube, TikTok, and Instagram. They’re great platforms to showcase your talents, connect with other DIY enthusiasts, and even attract the audience you want.
But having these talents is not enough to grow your YouTube channel or enhance your TikTok presence. With solutions like Adobe Express, you can quickly edit your videos before publishing, turn the raw footage into an engaging piece, and let your channel grow.
Do you need more tips on this? Don’t worry, we got you!
Attractive Intros to Hook Them Faster

People who watch videos often have even shorter attention spans than toddlers. They think they’re ready to consume a 20-minute video, but in reality, they get bored in the first 30-40 seconds and give up on watching.
The solution? Easy! A catchy hook to grab their attention and make them thirsty for more content.
The hooks can be bloopers, the final project, or a question that makes the audience curious about the answer. Get creative and test different approaches until you find the one that works best for you.
Cuts and Edits as Form of Art
You probably know that a DIY project can’t be done in 5 minutes, but the videos last less than that. The jump cuts between steps are a must because no one wants to spend 10 minutes watching how someone cuts the pieces or paints the project.
Even though it’s a part of the job, you can always release an extended cut later. Remember, your DIY channel is not about documentaries on painting, cutting, and screwing. You need to show the steps quickly and focus on the final project. That’s why editing is a must in the process.
Use Music Inserts for More Engagement
Only one simple music sample can make your video from average to exceptional. Surely, you need to find the fitting sounds with the right balance of calming melodies and energetic tones. Make sure they fit into the video. You don’t want some funeral march on your DIY dog house video.
Use your gut about this. Watch your video and think about what kind of music fits best for the activities. Choose music that complements your project’s vibe. But be careful – avoid copyrighted tracks unless you have the rights.
Add Text Captions and Subtitles
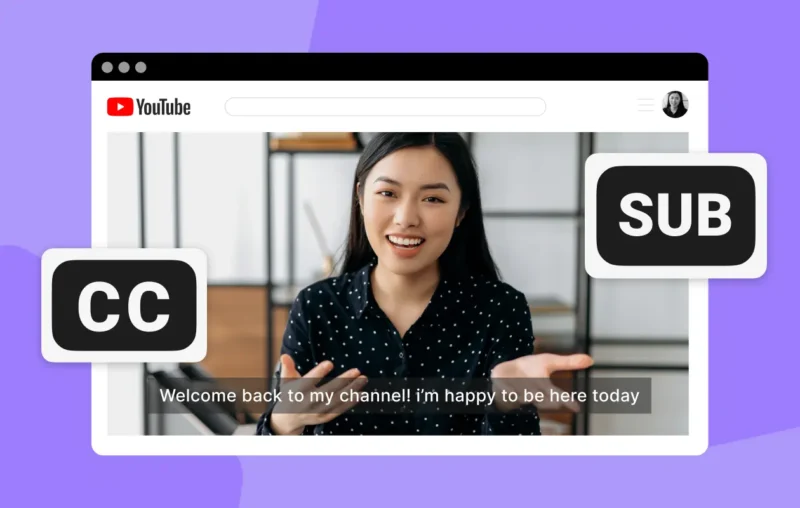
Sometimes, people aren’t able to listen to your guide. So, adding captions to the video is a great way to keep them engaged. If you cut and skip steps, add a text box that explains what you’ve done.
Also, texts are a great way to sum up the video’s key points and even be humorous. Subtitles also can engage the people more than you can imagine.
Many creators avoid adding text because they think the visual and sound elements are enough for a great DIY-inspired video. But if you watch the best-performing ones, you’ll see almost all of them follow similar layouts and have texts and titles over the video to be more engaging and compelling to the audience.
Make it Short and Sweet
Large DIY projects require longer videos. Surely, you can speed up the whole video, but there is no practical purpose in three minutes of using sandpaper on a wooden piece.
We suggest you grab the funny parts and use close-up shots to make the whole thing exciting. Speed up the boring parts, add some wide shots of the workshop, and let some mishaps take part in the final cut.
It doesn’t take much to create a video of you working on DIY projects. But it surely requires attention to the poses, shots, and balancing between interesting and boring steps.
Add Some Calls to Action
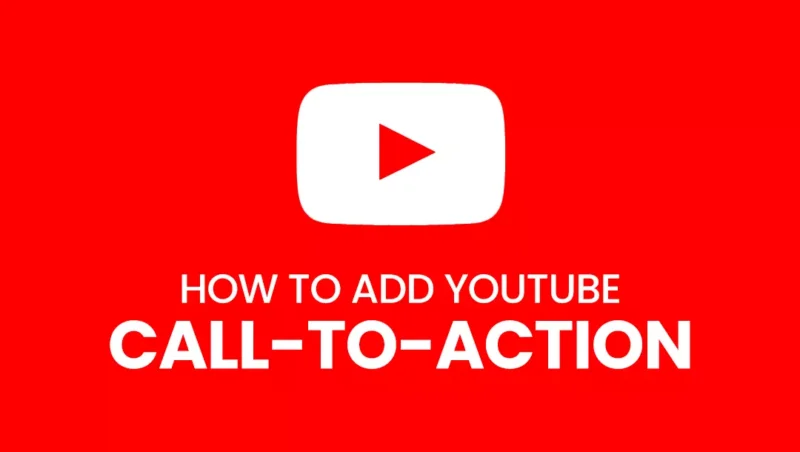
If you don’t invite the audience to take action, they will simply forget about you. Surely, you can encourage them to subscribe for more DIY videos, check on the other videos on your channel, or even share their projects with you.
Make it clear that you want to build a community with them. Use the channel to connect with other DIY enthusiasts, not just to broadcast your projects. Respond to comments, answer questions, and participate in discussions.
The audience appreciates when a real person stands behind those wooden pieces, plastics, and tools – with a true passion for creating new projects.
Be Consistent
You can plan on publishing videos in the series. The worst you can do is to launch all the videos at once because you prevent the audience from warming up. Instead, start small and see how they respond to the videos.
That way, you can create a sense of consistency. The audience would know what to expect and when, and they’ll get even more excited about the upcoming videos on your channel.
Pro Tip: Show the imperfections nicely and clearly. Sometimes, people expect perfect DIY projects, but you know that they’re not always as great as they seem. Crack some jokes on the off-center nail or reflect the uneven paint in the end. That’s a great way to connect with the subscribers on a personal level.
Our Thoughts on Successful DIY YT Channels
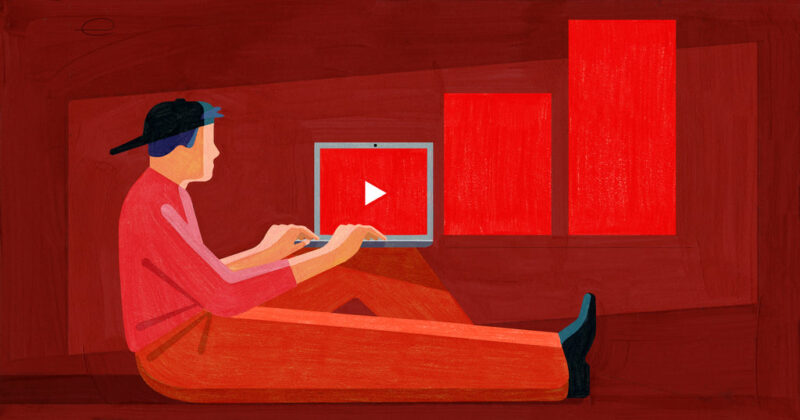
Finally, we want to note that you shouldn’t expect overnight success. There are so many other DIY creators on YouTube, and they’re all great as you are. It takes time for the algorithm to recognize the contents and purpose and categorize your channel appropriately.
Still, don’t get discouraged by the competition. Make them your greatest inspiration to grab the camera and take some exceptional shots of your best work. Even the usual duct tape and messy glue can become glamorous if you are consistent, focused, and dedicated to the audience that awaits your DIY creations.
By following these tips, you’ll create relatable and charming videos your audience will surely love and appreciate – resulting in more and more subscribers every day.